
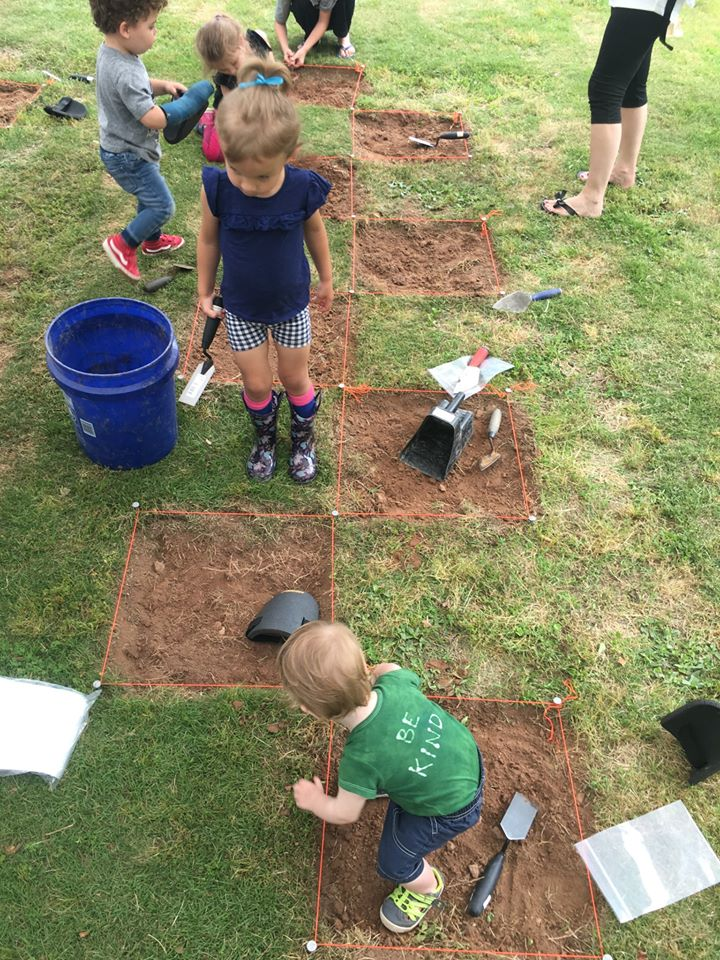
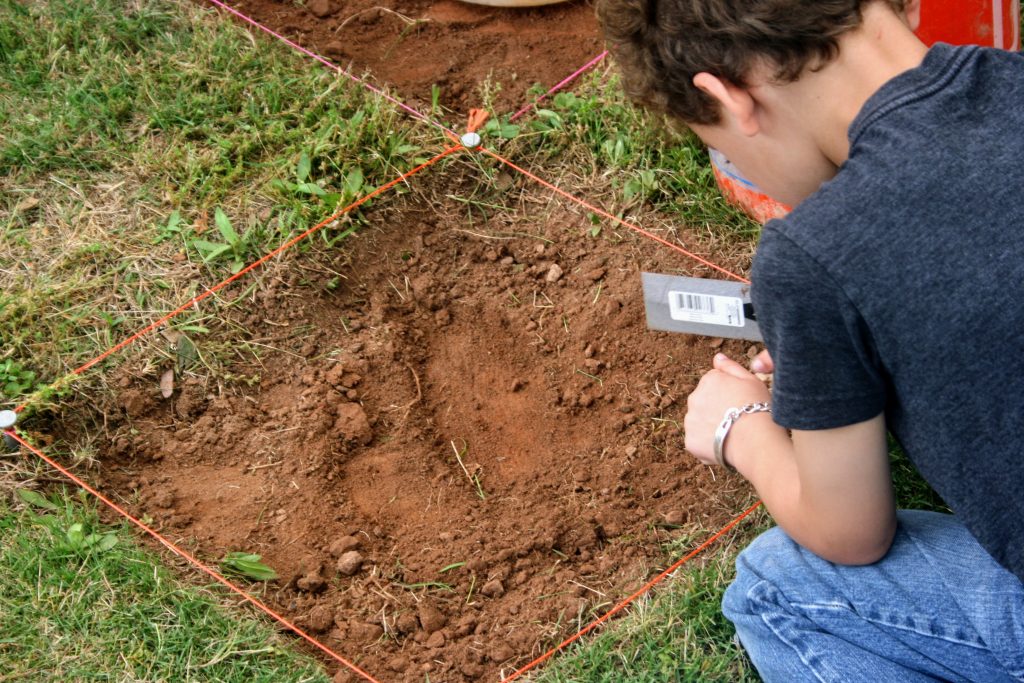
When archaeologists dig to collect data, it is called excavating. Excavating differs from digging because it is scientific and controlled. Archaeological excavation is a careful process that involves taking measurements, photographs, and lots of notes. The types of information that archaeologists write down include the type and amount of artifacts found, where the artifacts are found, and anything unusual that they encounter. Taking good notes ensures that an archaeologist can describe and interpret the site after it has been excavated. Because archaeology is a destructive science, archaeologists only get one chance to excavate a site. That’s why they have to excavate carefully, take good notes about the site and its surroundings, and photograph artifacts in situ – or where they are found.
I bet you’re wondering how archaeologists know where to dig, right? Archaeologists review historic and modern maps to determine which parts of their project areas are most likely to contain archaeological sites. Once these high probability areas have been identified, archaeologists may complete a Phase I field survey to determine if archaeological sites do, in fact, exist in their project area. During this phase, archaeologists test by digging small holes called shovel tests in a grid pattern over their project area.
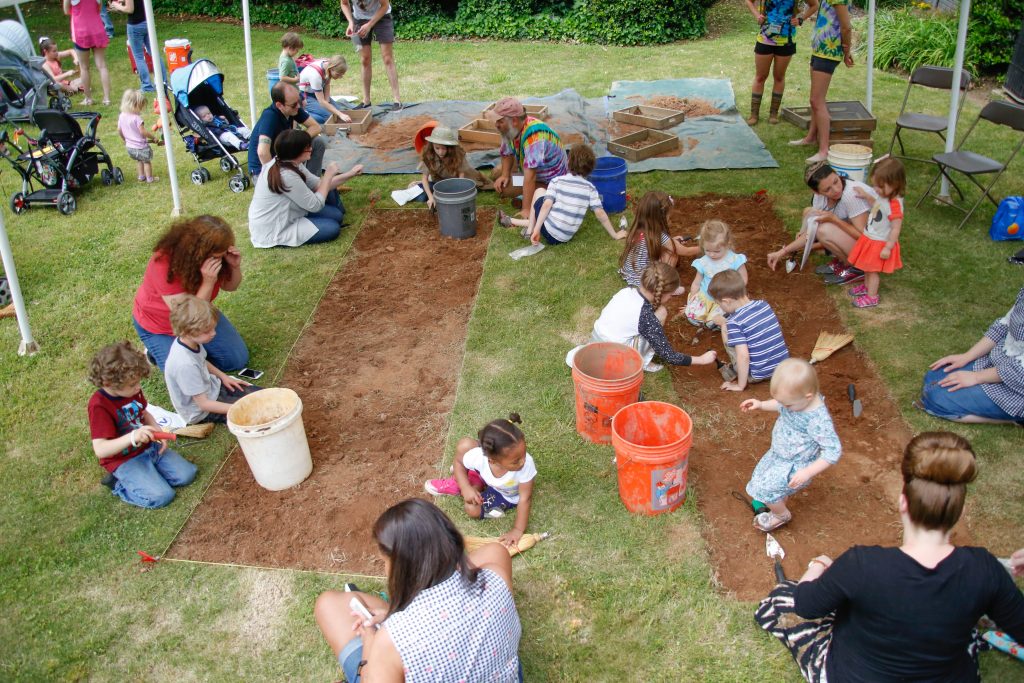
When archaeological sites are found, the research team uses their field notes and the recovered artifacts to determine if the site needs to be partially or fully excavated. These additional excavations (known as Phase II or Phase III excavations) are much less common, but they allow archaeologists to look closer at a site by excavating more of it with specific goals in mind.
One very important step in the investigation of an archaeological site is mapping. Maps help us remember what a place looked like at a certain time. In archaeology, they are a valuable data collection tool. Archaeologists draw detailed sketch maps of every excavation. They draw both plan (horizontal, or from above) maps and profile (vertical, or from the side) maps.
Some Key Terms:
- Artifact: An artifact is anything made, changed, or used by people.
- Feature: A feature is something made, changed, or used by people that cannot be moved from a site. Since a feature cannot be moved, it has to be carefully recorded and excavated so that archaeologists can interpret its purpose or function. For example, a circle of stones with pottery and charcoal could be interpreted as a hearth feature used for cooking food.
- Context: The place where an artifact or feature is found. Archaeologists study the context of artifacts and features to make inferences about the past.
- Looting: The unauthorized removal of artifacts or other cultural material from archaeological sites.
After you finish watching the video, see if you can respond to the prompts below:
- List the three main types of excavation.
- Explain the purpose of shovel testing.
- Describe the tools that archaeologists use to excavate a test unit.
- Explain the purpose of a test unit.
- Explain why archaeologists excavate.
- Discuss the types of information that can be obtained from archaeological maps.
ACTIVITY:
Are you ready to practice your mapping skills? Using a piece of graph paper or your Archaeology Day Field Book, draw your best plan view map of your favorite space in or around your house. You can map your bedroom, your living room, your favorite outdoor space, or even a space that you wish existed in your house. Follow the instructions below to create an accurate map just like a professional archaeologist! Steps 3 through 6 are more advanced, optional mapping techniques that will result in a more spatially accurate map.
- Come up with a title for your map (i.e. My Bedroom, My Backyard) and write it in the top-center of the page.
- Draw a compass rose (a circle with arrows showing the four cardinal directions: North, South, East, and West) in the top right corner of your map (and make sure that your map is oriented north!)
- *Advanced Step* Establish a datum for your map. If you are inside, create an X with tape on the floor in the southwest (bottom left) corner of the area that you are mapping. If you are outside, use a stake or a large nail.
- *Advanced Step* Create a grid to help make an accurate map. If you are inside, use painter’s tape or something similar. If you are outside, use string and nails (an adult must help with this step). Pull north (up) from the datum, marking every meter numerically (1, 2, 3…). Pull east (right) from the datum, marking every meter alphabetically (A, B, C…).
- *Advanced Step* Now you have a grid system in which each 1 by 1-meter square has a unique identifier (1A, 1B, 1C…)
- *Advanced Step* Draw this grid on your graph paper and use it to guide you in drawing in all the items in the room or outdoor space.
- Create a map legend under the compass rose in the top right corner of the map. Use symbols (images) on your map for things like your bed or desk, then draw those symbols in the legend with the item description next to it. This tells the map reader what your symbols mean.
- Don’t forget your scale! This should go next to your compass rose and map legend. The scale tells the map reader how many graph paper squares equal a meter, so they can tell how small or large the items on your map are in reality.
Standards Connector:
| Grade Level | Standard | Description |
| K-12 | Map and Globe Skills | 1. Use a compass rose to identify cardinal directions |
| K-12 | Map and Globe Skills | 3. Use a letter/number grid system to determine location |
These standards of excellence were sourced from the Georgia Department of Education web page at https://www.georgiastandards.org/Georgia-Standards/Pages/default.aspx